The webpage is a section where you can create your event landing page. Be it preparing a customized webpage, customized message on event booking or checkout questions to your attendees all these features are available here.
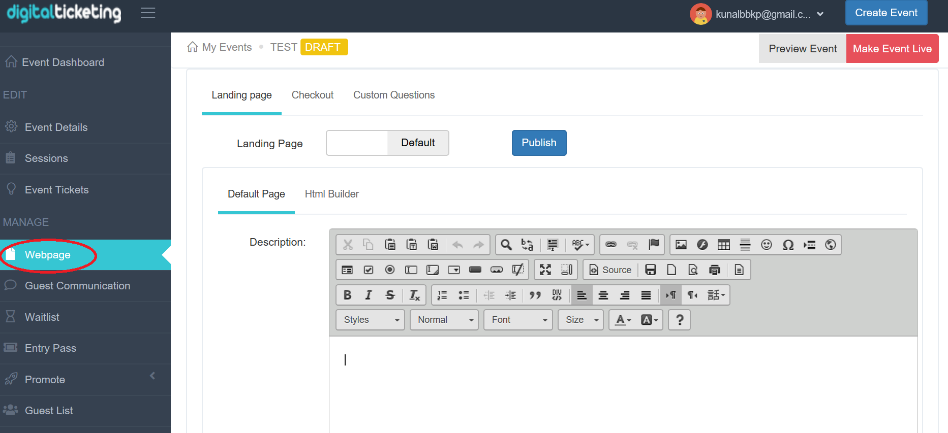
- You can find the Webpage tab on the left toolbar.
If you want to create a customized webpage follow the steps below
- Click on the 'Landing page' tab.
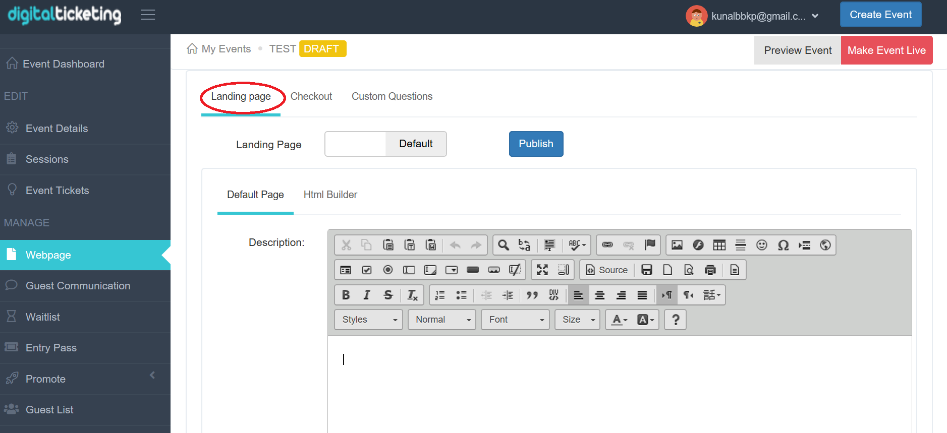
- After the click, you will get two tabs below “Default page” and “Html builder”.
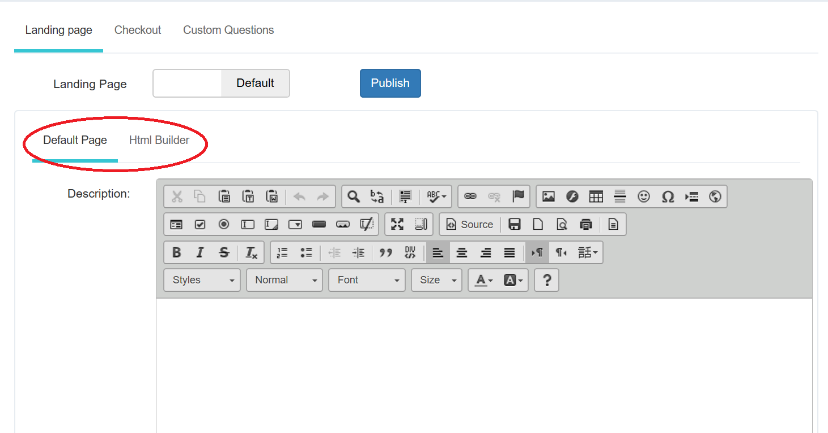
If you select the “Default page”
The “Default Page” consists of a customizable description box, option to upload the cover image on the default landing page.
- Select “Default Page” under “Landing Page”.
- On this page, you will get a “Description” box and below that “Cover Image”.


- You can type any customizable message for the attendees at the “Description” box.

- The “Description” box comes with many helpful tools to add special features to your message.

- You can add any desired image at “Cover Image”.
- For that first, you have to click on “Upload” on the cover image.
- That will give a pop up “Upload and Crop Image”.

- Click on “Choose file” at the center of the pop-up to add an image of your choice.

- Click on “Close” at the right bottom after you have added an image.
Note: If you want to remove an image, click on “Clear image” at the right bottom.
- This takes back to “Landing Page”.
- Click on the “Submit” button at the left bottom of the main page.

- You will get a pop-up saying “Setting has been updated successfully”.
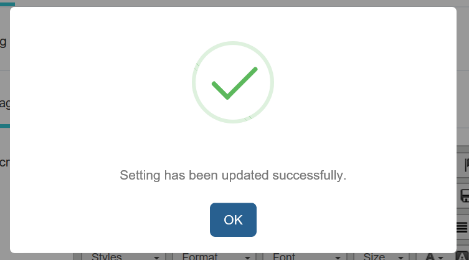
- Click on “OK”.
- Now you can view your Event Landing page.