Tickets for an event can be added in two ways. One by adding tickets while creating the event using the "Create Event" button and other by using Session tab in the Event Dashboard.
In the first, you can add tickets for one session for an event. If you go for the later, multiple tickets for multiple sessions can be added conveniently.
First, let us see how to add tickets by clicking on "Create Event"
Click on "Create Event".
- Fill in the first three tabs to go to the "Tickets" tab.
- If event tickets are free then enter ticket details in the first bar.
- If event tickets are paid then you have to fill in the details in the second bar.
- Under the 'Ticket Capacity' add the total number of tickets for the event.

- To add further details you have to click on the drop-down beside “free ticket” / “ticket cost.

- Enter ticket description, its availability dates, ticket booking allowed per person etc.
- You can also add if ticket fees are to be “passed” on to the customer or “absorbed” which means ticket fees will be paid by the organizer

- You can also select the ticket visibility option of your choice.

Now let us see how to add tickets using Session tab on the Dashboard
- Go to event Dashboard and Click on Sessions Tab.

- Click on “+Ticket” present on Add object pop up.

- On clicking, you will get the next “Add Ticket” pop-up.

- Select the ticket category such as “Free Ticket” or “Paid Ticket” as required.
- On selection, you will get another “Add ticket” pop up where you need to fill in all ticket details.

- Click on the dropdown beside “Price”.
- You will get a detailed page.

- Fill in the details like “Ticket name”, “Ticket Availability” “Ticket capacity” etc.
- At “Select Section” add the particular group for which the ticket is created.
- This helps you to add a ticket under the selected group. (Note this especially, when you have created multiple groups for an event).

Note: The details with “*” are mandatory.
- After adding all the details, click on the “Save” button at the right bottom of the pop-up.
- This will again give you a pop-up.
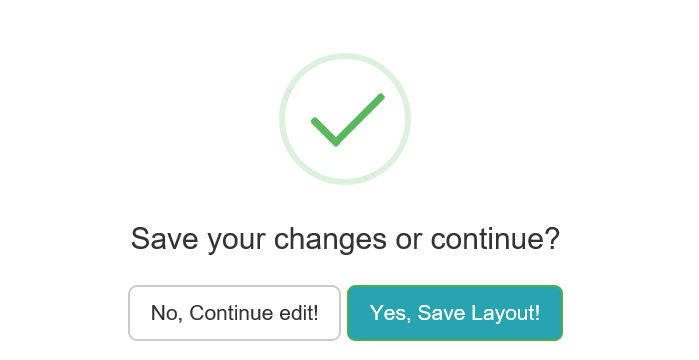
- Click on “Yes, Save Layout!” if you have completed creating a ticket.
- Once saved you can see the newly created ticket under the particular group.
- If you have anything to edit in the ticket details, click on “No, Continue edit!”
- This will take you to your created ticket where you can click on the “Edit” button at the right corner.

- You will get an “Edit Ticket” pop-up.
- After you have made changes, click on the “Update” button at the right bottom.
Note: You can add multiple ticket categories for a particular session. For example, in a theatre for a movie show (consider the show as one of the sessions), not all tickets are of the same cost. Some are costlier than others as per seats. Some tickets can also be free. These tickets are of different capacity. At such similar conditions, you just need to add various ticket types and follow the mentioned steps.
- Similarly, you can add and edit any ticket of a group for an event.